
Custom Video Player with HTML, CSS & JavaScript
40 DAYS 40 PROJECT CHALLENGE
Day #32
Project Overview
The Custom Video Player is an interactive frontend project built using HTML, CSS, and JavaScript. It replaces the default browser video controls with a simple custom interface that gives users direct control over video playback. The player includes buttons and sliders for common video actions such as playing, pausing, seeking, adjusting volume, and entering fullscreen mode.
First, HTML5 provides the video element and custom control elements. Next, CSS creates the dark video player layout and styles the controls to match the overall design. Finally, JavaScript connects each control with the HTML5 Video API and responds to user interactions. This project is useful for learning video events, DOM event handling, range inputs, and building custom media components.
Key Features
- Custom Play and Pause Control: Users can control video playback using a custom button instead of the browser’s default controls. The button text changes between Play and Pause based on the video state.
- Interactive Progress Bar: A range slider displays the current video progress and allows users to move to a different position. Therefore, users can quickly seek through the video.
- Volume Adjustment: The volume slider allows users to increase or decrease the video’s audio level. JavaScript updates the video volume whenever the slider value changes.
- Fullscreen Viewing: The fullscreen button allows users to expand the video for a larger viewing experience. JavaScript uses the browser’s fullscreen functionality to display the video in fullscreen mode.
- HTML5 Video API: The project uses the built-in HTML5 video element and JavaScript video methods. This makes it possible to control playback without using an external video player library.
- Real-Time Progress Updates: JavaScript listens for the video’s
timeupdateevent and calculates the current playback percentage. The progress slider then updates automatically as the video plays. - Responsive Video Layout: The video element uses the full width of its container. As a result, the player can adjust to different available screen sizes.
- Clean Control Panel: The controls are placed in a dark bar below the video with consistent spacing. Blue buttons provide clear visual actions for the user.
- Smooth User Interaction: Range inputs provide simple controls for both progress and volume. Users can interact with the player without relying on the browser’s default video interface.
- Simple Media Component: The project demonstrates how a custom video player can be created with basic web technologies. The same approach can be extended for more advanced media controls.
What You'll Learn
- How to create a custom video player using HTML5
- How to work with the HTML5 Video API
- How to control video playback with JavaScript
- How to use
timeupdateto track video progress - How to create interactive range sliders
- How to control video volume dynamically
- How to use the Fullscreen API
- How to handle DOM events for media controls
HTML Code
The HTML creates the basic structure of the Custom Video Player. First, it adds a .video-container that holds the video element and its custom controls. The <video> element contains a video source, while the controls section includes a Play button, progress range input, volume range input, and Fullscreen button. Each control has a unique ID so JavaScript can access it later.
Finally, the JavaScript file is loaded at the bottom of the page. This connects the custom controls with the video element and adds the required interactive behavior.
<!DOCTYPE html>
<html>
<head>
<meta charset="UTF-8">
<title>Custom Video Player</title>
<link rel="stylesheet" href="style.css">
</head>

<body>

<div class="video-container">

<video id="video">
<source src="https://www.w3schools.com/html/mov_bbb.mp4" type="video/mp4">
</video>

<div class="controls">

<button id="playBtn">Play</button>

<input type="range" id="progress" value="0">

<input type="range" id="volume" min="0" max="1" step="0.1" value="1">

<button id="fullscreen">Fullscreen</button>

</div>

</div>

<script src="script.js"></script>

</body>
</html>
CSS Code
The CSS creates the visual appearance of the video player. The page uses a dark blue background and centers the video container using Flexbox. The player itself has a black background, rounded corners, hidden overflow, and a shadow. Next, the video uses width: 100% so it fills the available player area. The controls use Flexbox to arrange the buttons and range sliders in a single row with consistent spacing.
The buttons use a blue background with a darker hover state, while the range inputs use flexible sizing so they can occupy the available space. This keeps the player clean and easy to use.
*{
margin:0;
padding:0;
box-sizing:border-box;
font-family:Arial;
}

body{
background:#042354;
display:flex;
justify-content:center;
align-items:center;
height:100vh;
}

.video-container{
width:700px;
background:#000;
border-radius:10px;
overflow:hidden;
box-shadow:0 10px 30px rgba(0,0,0,0.3);
}

video{
width:100%;
display:block;
}

.controls{
display:flex;
align-items:center;
gap:10px;
padding:10px;
background:#111;
}

button{
padding:8px 12px;
border:none;
background:#2563eb;
color:white;
border-radius:4px;
cursor:pointer;
}

button:hover{
background:#1d4ed8;
}

input[type="range"]{
flex:1;
cursor:pointer;
}
Javascript Code
JavaScript controls all the custom video interactions. First, the code selects the video element and each control using getElementById(). Next, the Play button checks whether the video is paused. If it is paused, video.play() starts playback and changes the button text to Pause. Otherwise, video.pause() stops the video and changes the text back to Play.
After that, the timeupdate event calculates the video’s current progress and updates the progress slider. The progress input also lets users seek to another position by changing video.currentTime. Finally, the volume input updates video.volume, while the Fullscreen button uses video.requestFullscreen() to expand the video. Therefore, JavaScript connects all the custom controls directly to the HTML5 video element.
const video = document.getElementById("video")
const playBtn = document.getElementById("playBtn")
const progress = document.getElementById("progress")
const volume = document.getElementById("volume")
const fullscreen = document.getElementById("fullscreen")

// Play / Pause
playBtn.addEventListener("click", () => {

if(video.paused){
video.play()
playBtn.innerText = "Pause"
}else{
video.pause()
playBtn.innerText = "Play"
}

})

// Update progress bar
video.addEventListener("timeupdate", () => {

const percent = (video.currentTime / video.duration) * 100
progress.value = percent

})

// Seek video
progress.addEventListener("input", () => {

video.currentTime = (progress.value / 100) * video.duration

})

// Volume control
volume.addEventListener("input", () => {

video.volume = volume.value

})

// Fullscreen
fullscreen.addEventListener("click", () => {

video.requestFullscreen()

})Related Projects
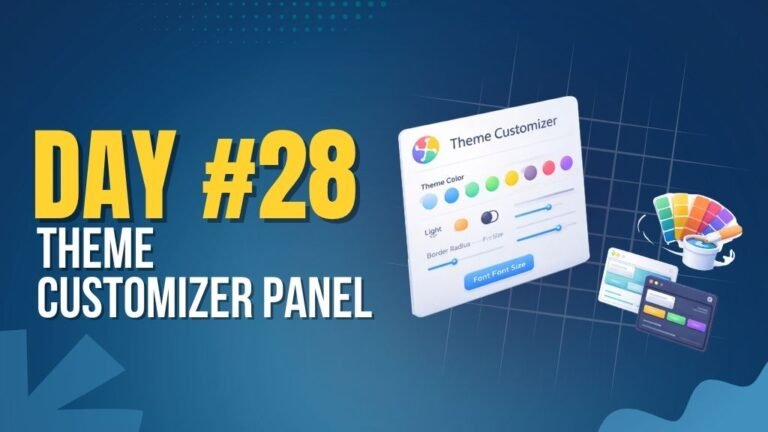
Day 28 : Theme Customizer Panel
Allows users to customize UI themes with real-time preview.
Concepts: CSS variables, state management, dynamic styling.
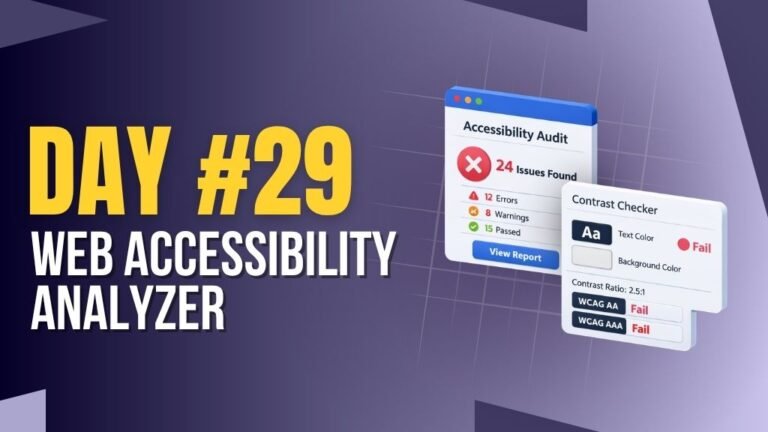
Day 29 : Web Accessibility Analyzer
Analyzes website accessibility and highlights improvement areas.
Concepts: DOM analysis, accessibility checks, UI feedback.

Day 34 : Animated Pricing Table Switcher
Switches pricing plans with smooth animations and toggle options.
Concepts: UI state management, animations, event handling.