
- Add timeline events dynamically using input fields
- Displays events in a clean vertical timeline layout
- Timeline markers connected with a vertical line
- Interactive UI built using JavaScript DOM manipulation
- Responsive design for desktop and mobile screens
- Simple and user-friendly interface for managing events
- Reusable timeline component for different types of websites
Interactive Timeline Component with HTML, CSS & JavaScript
40 DAYS 40 PROJECT CHALLENGE
Day #30
Project Overview
The Interactive Timeline Component is a frontend UI component built using HTML, CSS, and JavaScript that visually displays events in chronological order. Users can dynamically add timeline entries with a year and description, and the events are displayed along a vertical timeline with connected markers. This project demonstrates important frontend concepts such as dynamic DOM manipulation, event handling, and responsive UI design, making it a useful component for showcasing project history, company milestones, or personal achievements.
Key Features
HTML Code
<!DOCTYPE html>
<html>
<head>
<meta charset="UTF-8">
<title>Interactive Timeline Component</title>
<link rel="stylesheet" href="style.css">
</head>

<body>

<div class="timeline-container">

<h1>Interactive Timeline</h1>

<div class="form">

<input id="yearInput" placeholder="Enter Year">
<input id="eventInput" placeholder="Enter Event">

<button onclick="addEvent()">Add Event</button>

</div>

<div class="timeline" id="timeline">

</div>

</div>

<script src="script.js"></script>

</body>
</html>
CSS Code
*{
margin:0;
padding:0;
box-sizing:border-box;
font-family:Arial, sans-serif;
}

body{
background:#042354;
display:flex;
justify-content:center;
padding:40px 20px;
}

/* MAIN CONTAINER */

.timeline-container{
background:white;
padding:30px;
border-radius:12px;
width:700px;
max-width:95%;
box-shadow:0 10px 30px rgba(0,0,0,0.1);
}

h1{
text-align:center;
margin-bottom:20px;
}

/* FORM */

.form{
display:flex;
gap:10px;
margin-bottom:25px;
}

.form input{
flex:1;
padding:10px;
border:1px solid #ddd;
border-radius:6px;
}

.form button{
padding:10px 15px;
border:none;
background:#2563eb;
color:white;
border-radius:6px;
cursor:pointer;
font-weight:bold;
}

.form button:hover{
background:#1d4ed8;
}

/* TIMELINE */

.timeline{
position:relative;
margin-left:30px;
padding-left:10px;
}

/* Vertical line */

.timeline::before{
content:"";
position:absolute;
left:0;
top:0;
width:4px;
height:100%;
background:#2563eb;
border-radius:2px;
}

/* Timeline item */

.timeline-item{
position:relative;
margin-bottom:25px;
padding-left:40px;
}

/* Timeline dot */

.circle{
position:absolute;
left:-15px;
top:15px;
width:16px;
height:16px;
background:#2563eb;
border-radius:50%;
border:3px solid white;
box-shadow:0 0 0 2px #2563eb;
}

/* Content card */

.content{
background:#f1f5f9;
padding:15px;
border-radius:8px;
}

.content h3{
margin-bottom:5px;
color:#111;
}

.content p{
color:#444;
font-size:14px;
}
Javascript Code
function addEvent(){

const year = document.getElementById("yearInput").value
const event = document.getElementById("eventInput").value

const timeline = document.getElementById("timeline")

if(year.trim()==="" || event.trim()===""){
alert("Please enter year and event")
return
}

const item = document.createElement("div")
item.className = "timeline-item"

item.innerHTML = `

<div class="circle"></div>

<div class="content">
<h3>${year}</h3>
<p>${event}</p>
</div>

`

timeline.appendChild(item)

document.getElementById("yearInput").value=""
document.getElementById("eventInput").value=""

}
Subscribe
0 Comments
Oldest
Newest
Most Voted
Inline Feedbacks
View all comments
Related Projects
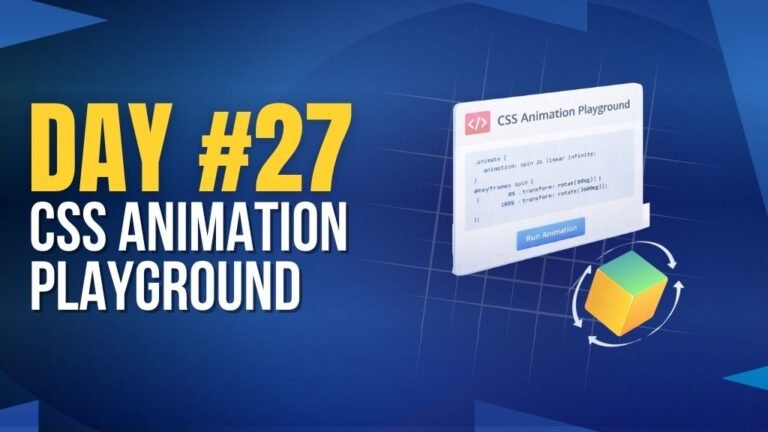
Day 27 : CSS Animation Playground
Interactive playground to explore and test different CSS animations.
Concepts: CSS animations, transitions, UI interaction.
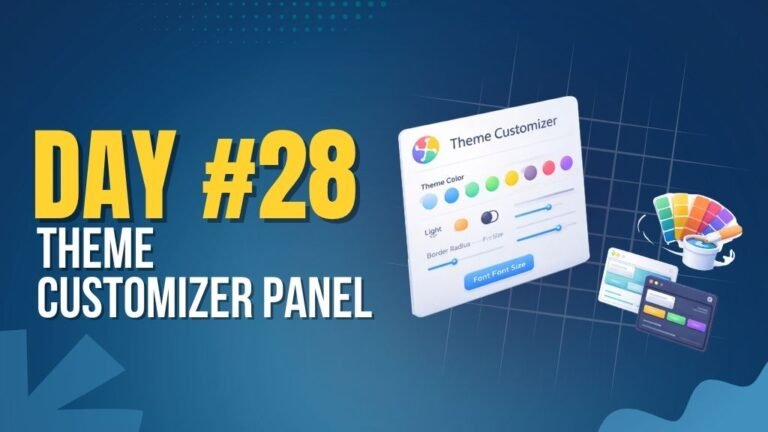
Day 28 : Theme Customizer Panel
Allows users to customize UI themes with real-time preview.
Concepts: CSS variables, state management, dynamic styling.

Day 32 : Custom Video Player
Custom-built video player with controls like play, pause, and progress.
Concepts: Media API, event handling, custom controls UI.