
AI Chatbot Widget for Website with HTML, CSS & JavaScript
40 DAYS 40 PROJECT CHALLENGE
Day #20
Project Overview
The AI Chatbot Widget for Website is an interactive chatbot interface built with HTML, CSS, and JavaScript. It allows users to open a chatbot, enter questions, and receive responses directly inside the webpage. This project focuses on creating a simple chatbot experience with a message area, text input, send button, and interactive chat widget. JavaScript handles user messages and dynamically adds chatbot responses to the conversation.
Moreover, the project gives beginners practical experience with event handling, DOM manipulation, dynamic content generation, and UI interaction. Therefore, it is a useful project for understanding how an interactive chatbot interface can be created with basic frontend technologies.
Key Features
- Chatbot Widget: The project provides a compact chatbot interface that can be integrated into a website. Users can interact with the widget without leaving the current webpage.
- Chat Interface: The widget contains a conversation area where user messages and chatbot responses appear. This creates a familiar messaging experience for visitors.
- User Message Input: Users can type their questions or messages into the input field. The entered text is then processed when they send the message.
- Send Message Functionality: The Send button triggers the chatbot interaction. JavaScript reads the entered message and adds it to the conversation dynamically.
- Dynamic Chat Messages: JavaScript creates new message elements and inserts them into the chat area. Therefore, users can see new messages immediately without refreshing the page.
- Chatbot Responses: The application generates responses based on the user’s message. This allows the widget to provide immediate feedback during the conversation.
- Event Handling: JavaScript handles events such as button clicks and user input. As a result, the chatbot responds smoothly to user actions.
- Empty Message Validation: Before processing a message, JavaScript checks whether the input contains text. This prevents empty messages from being added to the conversation.
- Scrollable Conversation: As more messages are added, the chat area can display the conversation in a scrollable section. Consequently, users can continue chatting without affecting the rest of the webpage.
- Clean Chatbot UI: CSS organizes the header, message area, input field, and send button into a compact interface. This makes the widget easy to understand and use.
What You'll Learn
- How to create a chatbot widget using HTML, CSS, and JavaScript.
- How to handle user input and button click events.
- How to create and insert chat messages dynamically.
- How to manipulate the DOM using JavaScript.
- How to validate user messages before processing them.
- How to create interactive chatbot responses.
- How to manage a conversation area with dynamic content.
- How to build a clean and responsive chat interface.
HTML Code
HTML creates the structure of the chatbot widget. The main chatbot container holds the header, conversation area, message input, and Send button.
The chat area provides a location where JavaScript inserts user messages and chatbot responses. Next, the input field allows users to enter their questions or messages. Send button triggers the JavaScript function responsible for processing the message. Finally, the HTML file loads the JavaScript file so that the chatbot can respond to user interactions.
<!DOCTYPE html>
<html>
<head>
<meta charset="UTF-8">
<title>AI Chatbot Widget</title>
<link rel="stylesheet" href="style.css">
</head>

<body>

<div class="chat-widget">

<div class="chat-header">
AI Assistant
</div>

<div class="chat-body" id="chatBody">
<div class="bot-message">Hello 👋 How can I help you?</div>
</div>

<div class="chat-input">
<input id="userInput" placeholder="Type a message...">
<button onclick="sendMessage()">Send</button>
</div>

</div>

<script src="script.js"></script>

</body>
</html>
CSS Code
CSS controls the appearance of the chatbot widget. First, the styles define the chatbot container, header, message area, input field, and Send button. The message section separates user and chatbot messages using spacing and different styling. Meanwhile, the input area keeps the text field and button organized at the bottom of the widget.
In addition, CSS controls dimensions, padding, borders, rounded corners, and other visual properties. Therefore, the chatbot has a clean interface that can fit naturally into a website.
*{
margin:0;
padding:0;
box-sizing:border-box;
font-family:Arial;
}

body{
background:#042354;
height:100vh;
display:flex;
justify-content:center;
align-items:center;
}

.chat-widget{
width:320px;
background:white;
border-radius:10px;
box-shadow:0 10px 30px rgba(0,0,0,0.2);
display:flex;
flex-direction:column;
overflow:hidden;
}

.chat-header{
background:#2563eb;
color:white;
padding:12px;
font-weight:bold;
text-align:center;
}

.chat-body{
height:300px;
overflow-y:auto;
padding:10px;
background:#f1f5f9;
}

.bot-message{
background:#e2e8f0;
padding:8px;
border-radius:6px;
margin-bottom:8px;
}

.user-message{
background:#2563eb;
color:white;
padding:8px;
border-radius:6px;
margin-bottom:8px;
text-align:right;
}

.chat-input{
display:flex;
border-top:1px solid #ddd;
}

.chat-input input{
flex:1;
padding:10px;
border:none;
outline:none;
}

.chat-input button{
background:#2563eb;
color:white;
border:none;
padding:10px;
cursor:pointer;
}
Javascript Code
JavaScript manages the chatbot’s interactive functionality. First, the code retrieves the message input, chat area, and Send button from the HTML. Next, when the user sends a message, JavaScript checks whether the input contains text. If the field is empty, the function stops instead of adding an empty message.
After that, JavaScript creates a new element for the user’s message and adds it to the chat area. It then generates the chatbot response and displays it below the user’s message. Finally, the chat area is updated dynamically whenever a new message is sent. As a result, users can continue the conversation without refreshing the webpage.
async function sendMessage(){

const input = document.getElementById("userInput")
const chatBody = document.getElementById("chatBody")

const message = input.value

if(message.trim() === "") return

chatBody.innerHTML += `<div class="user-message">${message}</div>`

input.value = ""

chatBody.innerHTML += `<div class="bot-message">Typing...</div>`

const response = await fetch("https://openrouter.ai/api/v1/chat/completions",{

method:"POST",

headers:{
"Content-Type":"application/json",
"Authorization":"Bearer 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"
},

body:JSON.stringify({

model:"openai/gpt-4o-mini",

messages:[
{
role:"user",
content: message
}
]

})

})

const data = await response.json()

const reply = data.choices[0].message.content

const messages = chatBody.querySelectorAll(".bot-message")
messages[messages.length-1].innerText = reply

chatBody.scrollTop = chatBody.scrollHeight

}

document.getElementById("userInput").addEventListener("keypress",function(e){

if(e.key === "Enter"){
sendMessage()
}

})Related Projects

Day 17 : AI Study Planner Generator
Creates a personalized study plan based on user goals and time.
Concepts: Form handling, data structuring, dynamic UI rendering.
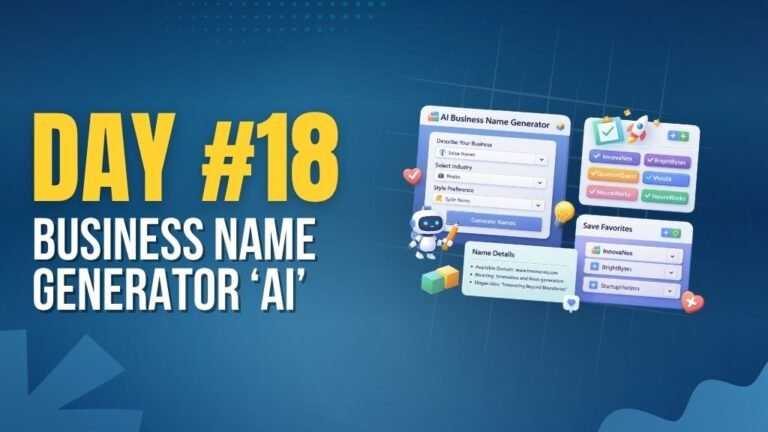
Day 18 : AI Business Name Generator
Generates creative business names based on keywords and category.
Concepts: String manipulation, dynamic generation, UI interaction.

Day 22 : Sales Dashboard with Charts
Displays sales data with charts and key performance metrics.
Concepts: Data visualization, chart libraries, dynamic UI updates.