
Weather Data Visualizer with HTML, CSS & JavaScript
40 DAYS 40 PROJECT CHALLENGE
Day #24
Project Overview
The Weather Data Visualizer is a beginner-friendly web application built with HTML, CSS, and JavaScript. It retrieves weather forecast data from the Open-Meteo API and displays temperature information through an interactive line chart. The project uses JavaScript to fetch the weather data and Chart.js to create the visualization.
The application provides a simple interface with a Load Weather Forecast button. When users click the button, JavaScript requests hourly temperature data, processes the first 12 values, and displays them on the chart. Therefore, this project is useful for learning API integration, asynchronous JavaScript, JSON data handling, and chart visualization.
Key Features
- Weather API Integration: This project connects to the Open-Meteo API to retrieve hourly temperature forecast data. Therefore, users can work with weather information obtained directly from an external API.
- Real-Time Data Fetching: JavaScript uses the
fetch()method to request the latest available forecast data. This demonstrates how frontend applications can retrieve data from public APIs. - Temperature Visualization: The application displays temperature values using a line chart. As a result, users can easily see how the temperature changes across the selected hourly data.
- Chart.js Integration: The project uses Chart.js to create the weather chart. This library makes it easier to convert the API response into an interactive and responsive visualization.
- Hourly Forecast Data: JavaScript selects the first 12 hourly timestamps and their corresponding temperature values. Therefore, the chart focuses on a smaller set of forecast data instead of displaying the complete API response.
- Dynamic Chart Generation: The chart is created only after the user clicks Load Weather Forecast. This keeps the initial interface simple and generates the visualization when the user requests it.
- Chart Refresh: Before creating a new chart, JavaScript checks whether an existing chart is available and destroys it. As a result, users can load the forecast again without creating overlapping charts.
- Responsive Visualization: Chart.js is configured with responsive behavior, allowing the chart to adjust according to the available space. Therefore, the visualization can work across different screen sizes.
- Simple User Interface: The page contains a heading, a single action button, and a chart area. Consequently, users can understand the application’s purpose without navigating through unnecessary controls.
- No API Key Required: The project uses the public Open-Meteo forecast endpoint without requiring an API key. This makes the project easier for beginners to test and understand.
What You'll Learn
- How to build a weather data visualizer with HTML, CSS, and JavaScript.
- How to fetch weather data from a public API using
fetch(). - How to use
asyncandawaitfor asynchronous API requests. - How to convert an API response into JSON data.
- How to access and process nested API data.
- How to use
slice()to select specific data from an array. - How to create a temperature line chart with Chart.js.
- How to update and destroy an existing Chart.js chart.
HTML Code
HTML creates the basic structure of the Weather Data Visualizer. The .container holds the project heading, Load Weather Forecast button, and canvas element used for the chart.
The button calls the loadWeather() function when users click it. Next, the #weatherChart canvas provides the area where Chart.js renders the temperature visualization. Finally, the HTML loads Chart.js from its CDN and then loads the project’s script.js file. Therefore, the JavaScript code can access both the API and Chart.js library.
<!DOCTYPE html>
<html>
<head>
<meta charset="UTF-8">
<title>Weather Data Visualizer</title>

<link rel="stylesheet" href="style.css">

<script src="https://cdn.jsdelivr.net/npm/chart.js"></script>

</head>

<body>

<div class="container">

<h1>Weather Data Visualizer</h1>

<button onclick="loadWeather()">Load Weather Forecast</button>

<canvas id="weatherChart"></canvas>

</div>

<script src="script.js"></script>

</body>
</html>
CSS Code
CSS controls the appearance and layout of the weather visualizer. First, the universal selector resets the default margin and padding, sets box-sizing: border-box, and applies the Arial font. The body uses Flexbox to center the application vertically and horizontally. Meanwhile, the .container creates a white card with padding, rounded corners, a fixed width, centered text, and a shadow.
The button uses a full-width layout with padding, a blue background, white text, and rounded corners. In addition, the hover style changes the button’s background color when users move the cursor over it. Finally, the canvas receives top spacing so that the chart does not sit directly against the button.
*{
margin:0;
padding:0;
box-sizing:border-box;
font-family:Arial;
}

body{
background:#042354;
display:flex;
justify-content:center;
align-items:center;
height:100vh;
}

.container{
background:white;
padding:30px;
border-radius:12px;
width:700px;
text-align:center;
box-shadow:0 10px 30px rgba(0,0,0,0.2);
}

h1{
margin-bottom:20px;
}

button{
width:100%;
padding:12px;
background:#2563eb;
color:white;
border:none;
border-radius:6px;
cursor:pointer;
font-size:16px;
}

button:hover{
background:#1d4ed8;
}

canvas{
margin-top:20px;
}
Javascript Code
JavaScript manages the API request and chart generation. First, the loadWeather() function sends a request to the Open-Meteo API using fetch() and waits for the response with await. Next, JavaScript converts the response into JSON and extracts the hourly time and temperature arrays. It then uses slice() to select the first 12 values from both arrays.
After that, the createChart() function receives the time labels and temperature values. It creates a Chart.js line chart using the temperature data. Finally, the code checks whether an existing chart is present. If so, it destroys the old chart before creating a new one. As a result, the application can refresh the weather visualization without displaying multiple charts on top of each other.
let chart;

async function loadWeather(){

const url = "https://api.open-meteo.com/v1/forecast?latitude=19.07&longitude=72.87&hourly=temperature_2m";

const response = await fetch(url);

const data = await response.json();

const labels = data.hourly.time.slice(0,12);
const temps = data.hourly.temperature_2m.slice(0,12);

createChart(labels,temps);

}

function createChart(labels,temps){

const ctx = document.getElementById("weatherChart");

if(chart){
chart.destroy();
}

chart = new Chart(ctx,{

type:"line",

data:{
labels:labels,
datasets:[{
label:"Temperature (°C)",
data:temps,
borderColor:"#2563eb",
backgroundColor:"rgba(37,99,235,0.2)",
fill:true,
tension:0.4
}]
},

options:{
responsive:true
}

});

}Related Projects
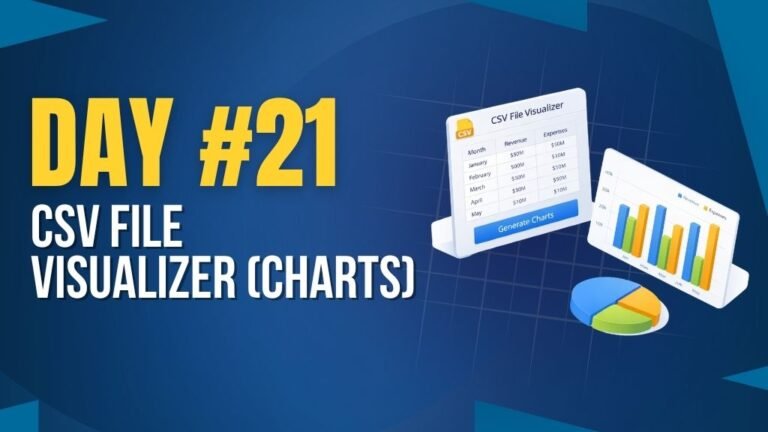
Day 21 : CSV File Visualizer (Charts)
Uploads CSV files and displays data using interactive charts.
Concepts: File handling, data parsing, chart rendering.

Day 22 : Sales Dashboard with Charts
Displays sales data with charts and key performance metrics.
Concepts: Data visualization, chart libraries, dynamic UI updates.

Day 26 : Survey Result Dashboard
Displays survey responses with charts and summarized insights.
Concepts: Data aggregation, chart rendering, dynamic UI updates.